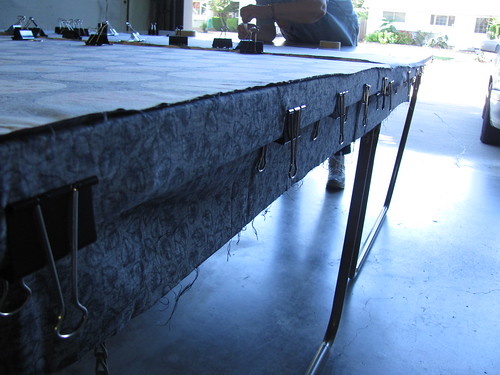
We start with a pool table.. well, my grandpa said pool table, but there’s a hinge in the centre (which, actually, is rather annoying) so I think it’s a ping-pong table.
Then the quilt back goes down, right side against the table, and we put binder clips on the edge and make it as taut as possible without stretching it.
More photos and process to follow~
On the edges where it doesn’t reach we masking tape it down:
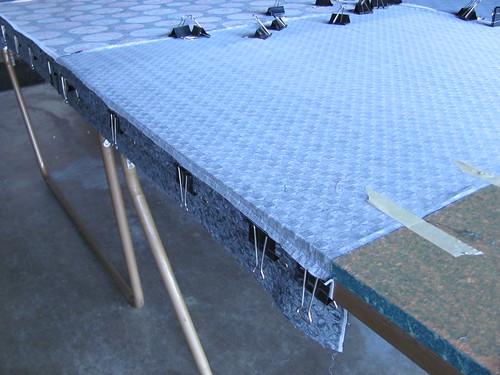
Then I skipped taking a picture, but you lay the batting down and binder clip and tape it as well.
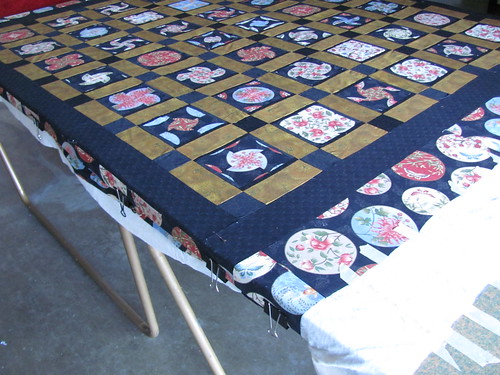
Then the top!
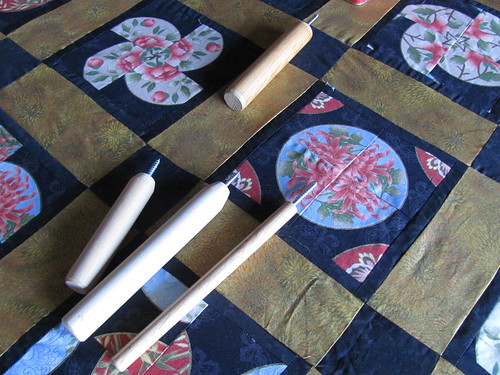
And theeeen, the tools!
My grandpa made these, I don’t really know what they’re called if you wanted to buy one, but I know quilt stores have them… you can also use a spoon! But I found these easier.
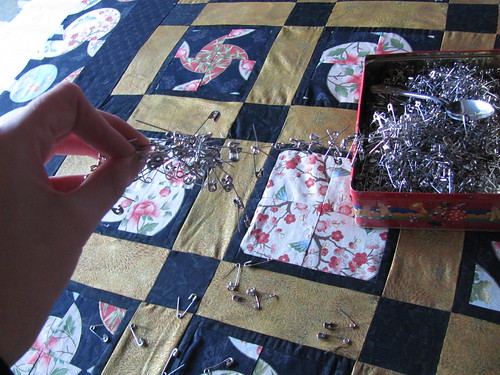
Tin of safety pins (and spoon!)
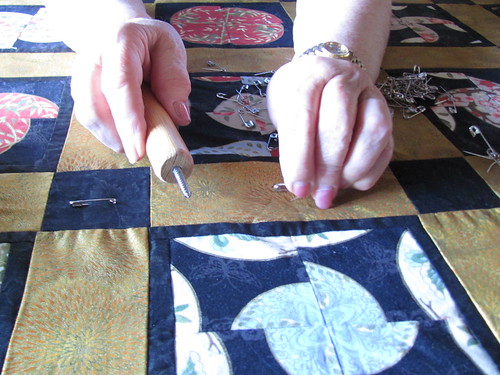
I was trying to take pics to show how that tool is used, but I couldn’t really capture it.
So video!
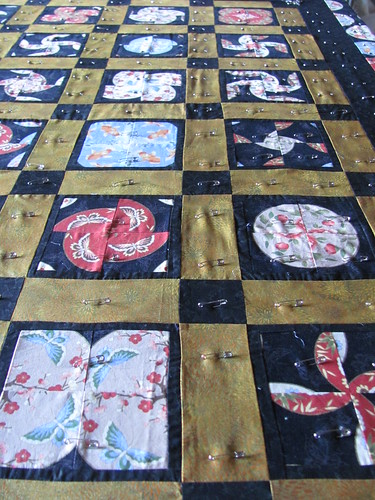
Soooo many pins!
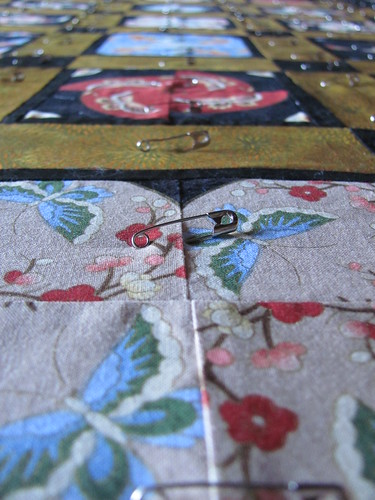
Here you can see the other type of safety pin, I don’t know what they’re called but they’re sold in quilt stores. They’re in a bit of a U-bend to supposedly make it easier to pin, but I don’t notice any difference between them and a normal safety pin, when using the tool anyway.
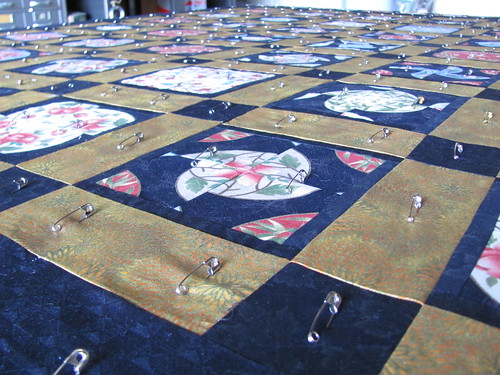
I like the way the pins look 8D
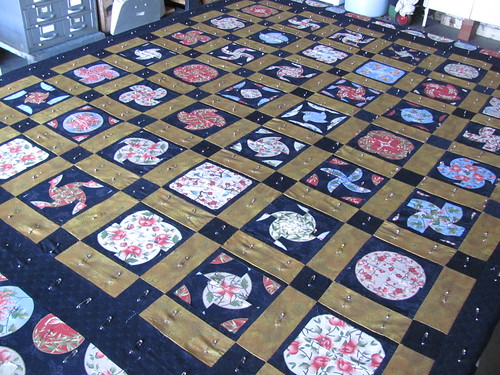
And all done!
This is a… queen? I think. And I want to say it took 2.5 hours from start to finish.
The end!
No comments:
Post a Comment